Sharp XG-P25X Uživatelský manuál
Procházejte online nebo si stáhněte Uživatelský manuál pro Projektory Sharp XG-P25X. Sharp XG-P25X User Manual Uživatelská příručka
- Strana / 80
- Tabulka s obsahem
- KNIHY

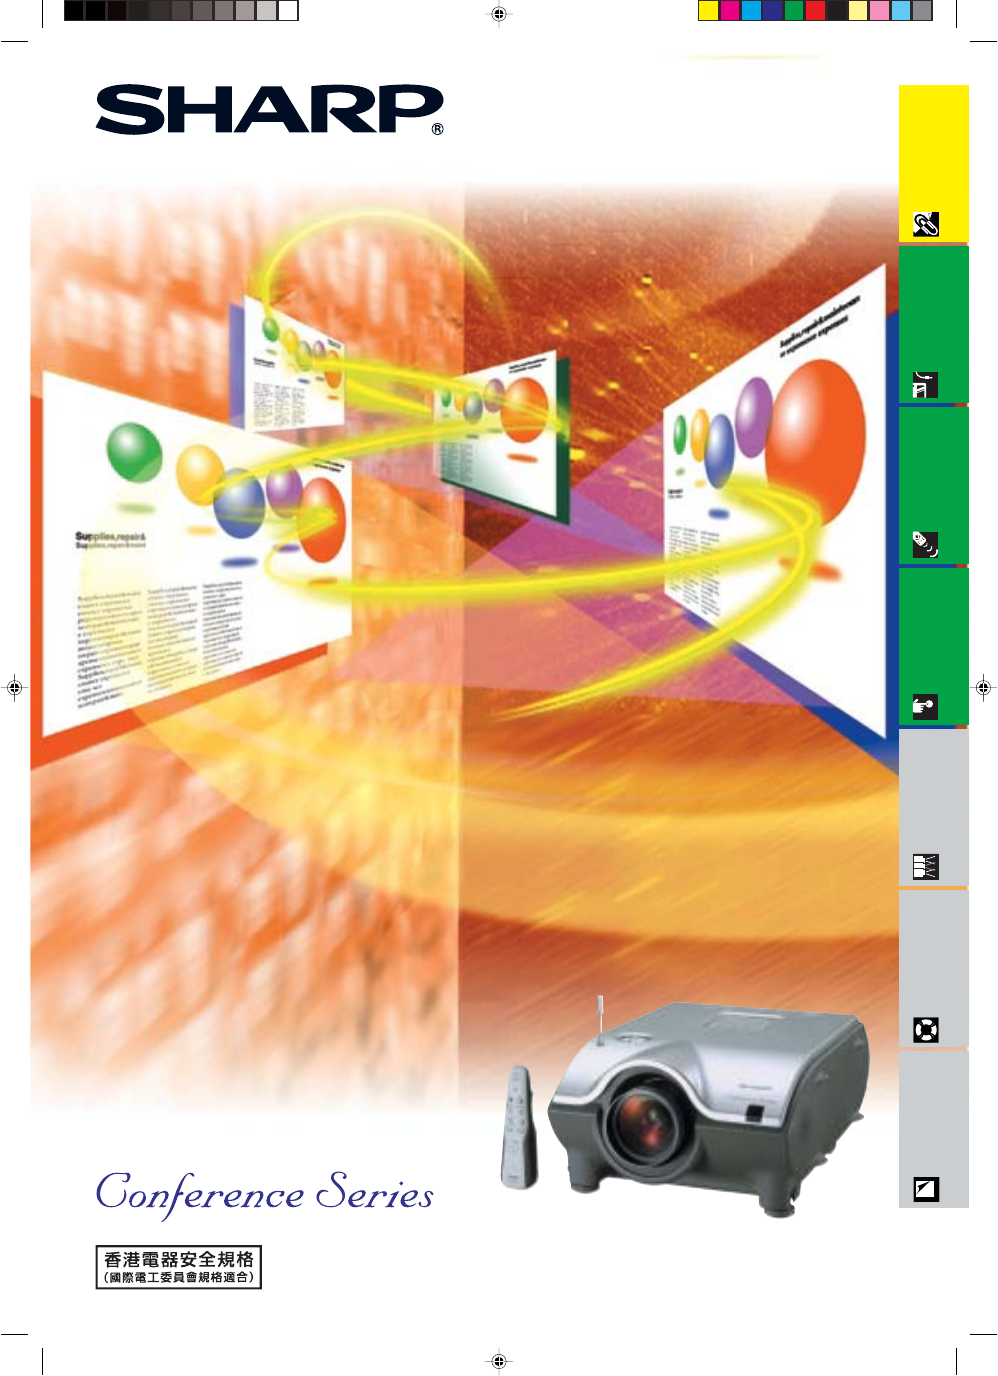
- LCD PROJECTOR 1
- Model No.: XG 2
- Serial No.: 2
- Introduction ENGLISH 4
- PRODUCT DISPOSAL 5
- IMPORTANT SAFEGUARDS 6
- Outstanding Features 10
- Contents 12
- Multiple Function 13
- Maintenance & 13
- Troubleshooting 13
- Appendix 13
- Accessing the PDF Manuals 14
- Part Names 15
- Using the Remote Control 17
- Accessories 18
- Connections 19
- Power Supply 19
- Projecting Computer Images 20
- R), G/G sync (Y), B (PB) 21
- Watching Video Images 23
- For Better Sound 24
- Power ON/OFF 25
- Setting Up the Screen 26
- Using the Adjustment Feet 26
- Using the Lens Shift 26
- LENS Button 27
- Throw Distance 28
- Standard Lens 30
- Throw distance ratio 30
- 1:1.8 to 2.4 30
- AN-P48EZ 32
- 1:4.6 to 6.1 32
- Rear Projection 33
- Projection Using a Mirror 33
- Ceiling-mount Projection 33
- Image Projection 33
- Using the Operation Buttons 34
- Adjusting the Volume 34
- Muting the Sound 34
- Superimposing a Black Screen 35
- Displaying a Still Image 35
- 1 4 9 16 36 64 36
- Operation Buttons 37
- Gamma Modes 40
- Basic Operations 41
- Menu Bars 42
- Main menu 43
- Adjusting the Picture 44
- for the procedure details 45
- Basic Operation 46
- Special Mode Adjustment 47
- Checking the Input Signal 47
- Auto Sync Adjustment 48
- Auto Sync Display Function 48
- Selecting a Background Image 52
- Selecting a Startup Image 52
- See page 53
- Setting the Stacking Mode 55
- for the procedure 57
- Internet 60
- E-mail E-mail 60
- • See page 62
- , “Deselecting Inputs” 62
- Professional Edition 63
- Lamp/Maintenance Indicators 64
- Replacing the Lamp 65
- Replacing the Air Filter 67
- For SHARP Assistance 69
- Connecting Pin Assignments 70
- Commands 71
- PC control 71
- Communication conditions 71
- Basic format 71
- PICTUREFINE SYNC 72
- AUDIOOPTIONS (1) 73
- OPTIONS (2)LANGUAGE 73
- EXTERNAL 74
- Compatibility Chart 75
- Dimensions 76
- Specifications 77
- Glossary 78
- SHARP CORPORATION 80
Shrnutí obsahu
OPERATION MANUALMODELXG-P25XLCD PROJECTORImportantInformationSetup & Connections Operation Buttons Basic OperationMaintenance &Troubleshooting
E-7ImportantInformation1. High-end LCD Projector with Ultra High Brightness• AC 270 W LampUse AC 270 W lamp for excellent color uniformity and ultra h
E-8ImportantInformation6. Network Capability• Self-Diagnosis/Projector StatusSelf-diagnosis/Projector status function sends e-mailmessages to a specif
E-9ImportantInformationImportant InformationIntroduction ...1IMPORTANT SAFEGUARDS ...3Outstanding
E-10ImportantInformationContentsUsing Extended FunctionalityFeatures ...57Multiple FunctionMaintenance &Tr
E-11ImportantInformationPDF operation manuals in several languages are included in the Projector Manual and Technical Reference CD-ROM. To utilize the
E-12ImportantInformationNumbers next to the part names refer to the main pages in this manual where the topic is explained.162014216664501919171718592
E-13ImportantInformationNumbers next to the part names refer to the main pages in this manual where the topic is explained.Remote ControlPart NamesFro
E-14ImportantInformationUsing the Remote ControlInserting the batteries1Press the tab and lift open thebattery cover in the direction ofthe arrow.Inse
E-15ImportantInformationAccessoriesRemote controlRRMCGA048WJSASupplied AccessoriesTwo R-6 batteries(“AA” size, UM/SUM-3,HP-7 or similar)Power cordFor
E-16Setup & ConnectionsConnecting the Power CordPlug the supplied power cord into the AC socket on the rear of the projector.Power cordMake the ne
This equipment complies with the requirements of Directives 89/336/EEC and 73/23/EEC as amended by 93/68/EEC.Dieses Gerät entspricht den Anforderungen
E-17Setup & ConnectionsProjecting Computer ImagesConnecting the Projector to a ComputerYou can connect your projector to a computer for projection
E-18Setup & ConnectionsProjecting Computer Images• This projector uses a 5 BNC computer input to prevent deterioration of image quality.• Connect
E-19Setup & ConnectionsProjecting Computer ImagesConnecting to a computer using the RS-232C PortWhen the RS-232C port on the projector is connecte
E-20Setup & ConnectionsWatching Video ImagesConnecting to a VCR, laser disc player and other audiovisualequipment using the standard video InputS-
E-21Setup & ConnectionsWatching Component Video ImagesConnecting to a DVD video player, DTV* decoder and othercomponent video equipment using the
E-22Setup & ConnectionsPower ON/OFFPress POWER ON.Press POWER OFF.On-screen Display• The blinking green LAMP REPLACEMENT indicatorshows that the l
E-23Setup & ConnectionsSetting Up the Screen1Using the Adjustment Feet32Press foot releases. Adjust height of projectorand remove hands fromfoot r
E-24Setup & ConnectionsLENS ButtonProjector Remote controlDigital Image AdjustmentsThis function can be used to adjust the focus, zoom,keystone, v
E-25Setup & ConnectionsAdjusting the Projection DistancePosition the projector perpendicular to the screen with all feet flat and level to achieve
E-26Setup & ConnectionsAdjusting the Projection DistanceUpper and Lower Lens Shift Position• This projector is equipped with a lens shift function
The supplied CD-ROM contains operation instructions in English, German, French, Swedish, Spanish, Italian,Dutch, Portuguese, Chinese (Traditional Chin
E-27Setup & ConnectionsAdjusting the Projection DistanceStandard LensThrow distance ratio1:1.8 to 2.4NORMAL Mode (4:3)300200150133106100928
E-28Setup & ConnectionsAdjusting the Projection DistanceAN-P9MXThrow distance ratio1:0.9NORMAL Mode (4:3)300200150100847260402401601208
E-29Setup & ConnectionsAdjusting the Projection DistanceAN-P48EZThrow distance ratio1:4.6 to 6.1NORMAL Mode (4:3)300200150100847260240160
E-30Setup & ConnectionsRear Projection• Place a translucent screen between the projector andthe audience.• Use the projector’s menu system to reve
E-31Operation ButtonsSelecting the Input Signal SourceUsing the Operation ButtonsPress INPUT 1.2.3 or INPUT 4.5 on the projector orINPUT (1, 2, 3, 4 o
E-32Operation ButtonsThis function can be used to superimpose a blackscreen over the projected image.Blacking out the Projected ImagePress BLACK SCREE
E-33Operation ButtonsMagnifying a Specific Portion of an ImageThis function allows you to magnify a specific portion ofan image. This is useful when y
E-34Operation ButtonsDisplaying and Setting the Break TimerRemote control This function can be used to show the remaining timefor break during meeting
E-35Operation ButtonsAdjusting the Picture Aspect RatioThis function allows you to modify or customize thepicture display mode to enhance the input im
E-36Operation ButtonsAdjusting the Picture Aspect RatioVIDEO1024 768 768 576*––720P, 1035I, 1080I1024 576*1024 576*–480I, 480P, 580I, 580P, NT
E-1ImportantInformationBefore using the LCD projector, please read this operation manual carefully.Introduction ENGLISHThere are two important reasons
E-37Operation ButtonsGamma Correction FunctionOn-screen Display(Example: RGB mode)sssSTANDARDPRESENTATIONCINEMACUSTOMProjector • Gamma is an image qua
E-38Basic OperationUsing the GUI (Graphical User Interface) Menu ScreenBasic OperationsThis projector has two sets of menu screens that allow you to a
E-39Basic Operation[ON/OFF][ON/OFF]PRJ ModeStack SettingKeylock LevelSet InputsRS-232CSet ID No.PasswordCeilingFrontCeilingRearFrontRearLevel BInput
E-40Basic OperationMenu BarsItems on the INPUT 4 or 5 Mode Menu BarMain menuSub menuMain menuSub menuPicture Options (2)AudioTint 3030Color 3030Sh
E-41Basic OperationAdjusting the PictureYou can adjust the projector’s picture to your preferences with the following picture settings. See page38 for
E-42Basic OperationAdjusting the PictureProgressive ModeThis function allows you to select the progressive display of a video signal. The progressive
E-43Basic Operation• Computer image adjustments can be made easily by pressing AUTO SYNC ( ). See page 45 for details.• To reset all adjustment items,
E-44Basic OperationAdjusting the Computer Images (RGB menu only)Special Mode AdjustmentOrdinarily, the type of input signal is detected and the correc
E-45Basic OperationAdjusting the Computer Images (RGB menu only)Auto Sync Adjustment• Used to automatically adjust a computer image.• Auto Sync adjust
E-46Basic OperationAdjusting the SoundThis projector’s audio is factory preset to standard settings. However, you can adjust it to suit your ownprefer
E-2ImportantInformationPRODUCT DISPOSALThis projector utilizes tin-lead solder, and a pressurized lamp containing a small amount of mercury. Disposal
E-47Basic OperationDisplaying Dual Pictures (RGB menu only)Picture in Picture function allows you to display two pictures on the same screen. You can
E-48Basic Operation• When the system mode is set to “Auto”, you may not receive a clear picture due to signal differences. Should this occur,switch to
E-49Basic OperationSelecting a Background ImageSelected itemSharpCustomBlueNoneDescriptionSHARP default imageUser customized image (e.g. company logo)
E-50Basic OperationThese functions allow you to reduce the power consumption when the projector is in standby mode.See page 38 for the procedure detai
E-51Basic OperationConfirming the Lamp Usage TimeThis function allows you to check the accumulated lamp usage time. See page 38 for the proceduredetai
E-52Basic OperationSetting the Stacking ModeYou can double the brightness of an image by stacking two projectors and projecting same picturesimultaneo
E-53Basic OperationDeselecting InputsThis function allows you to deselect unwanted signal input. See page 38 for the procedure details.• When stack pr
E-54Basic OperationControling Multiple Projectors with ID NumbersThis projector can form a network of up to 250 projectors. To identify separately and
E-55Basic OperationProtecting Important Settings with a PasswordA password can be set by the user and used with the keylock level to prevent adjustmen
E-56Basic OperationSelecting the On-screen Display LanguageEnglish is the preset language for the On-screen Display; however, this can be changed to G
E-3ImportantInformationIMPORTANT SAFEGUARDSCAUTION: Please read all of these instructions before you operate this product and savethese instructions f
E-57Multiple FunctionUsing Extended Functionality FeaturesThis projector has outstanding network capability.• Internet access for self-diagnosis• Mult
E-58Multiple FunctionThis projector can be used in a network of projectors managed from a single PC with the accompanied SharpAdvanced Presentation So
E-59Multiple FunctionSimultaneous multiple projector control for stacking and videowallprojectionINPUT1INPUT2INPUT4INPUT5OUTPUTMasterINPUT1Distributor
E-60Multiple FunctionVideowallINPUT1INPUT2INPUT4INPUT5OUTPUTMasterRS-232C OUTINPUT1Control PCSharp AdvancedPresentation Software“Professional Edition”
E-61Maintenance &TroubleshootingLamp/Maintenance IndicatorsMaintenance IndicatorsTEMPERATUREWARNINGindicatorLAMPREPLACEMENTindicatorPOWERindicator
E-62Maintenance &TroubleshootingReplacing the LampIt is recommended that the lamp be replaced after approximately 1,400 cumulative hours of use or
E-63Maintenance &TroubleshootingReplacing the Lamp10Attach the lamp cagecover.Slide the lamp cage cover inthe direction of the arrow. Thentighten
E-64Maintenance &Troubleshooting• This projector is equipped with two air filters to ensure the optimal operating condition of the projector.• The
E-65Maintenance &TroubleshootingTroubleshootingCheck• Keylock level is set to “Level A” or “Level B”, preventing operation of some or allbuttons.
E-66Maintenance &TroubleshootingIf you encounter any problems during setup or operation of this projector, first refer to the “Troubleshooting”sec
E-4ImportantInformationIMPORTANT SAFEGUARDS18. Damage Requiring ServiceUnplug this product from the wall outlet and refer servicingto qualified servic
E-67AppendixConnecting Pin AssignmentsRGB InputAnalog1. Video input (red)2. Video input(green/sync on green)3. Video input (blue)4. Reserve input 15.
E-68AppendixCONTROL CONTENTSPOWER ONPOWER OFFVOLUME (0 – 60)MUTE ONMUTE OFFLENS FOCUS (30 – 30)LENS ZOOM (30 – 30)KEYSTONE (127 – 127)V-SIZE (3
E-69Appendix(RS-232C) Specifications and Command SettingsCONTROL CONTENTSINPUT 1 (RGB 1) SIGNAL TYPE : RGBINPUT 1 (RGB 1) SIGNAL TYPE : COMPONENTINPUT
E-70Appendix(RS-232C) Specifications and Command SettingsCONTROL CONTENTSBALANCE (30 – 30)TREBLE (30 – 30)BASS (30 – 30)AUDIO DISPLAYAUDIO ADJUS
E-71AppendixWired Remote Control Terminal SpecificationsSpecifications of wired remote control input• ø3.5 mm minijack• External: 5 V (1 A)• Internal
E-72AppendixCompatibility ChartComputerHorizontal Frequency: 15–126 kHz / Vertical Frequency: 43–200 Hz / Pixel Clock: 12–230 MHzCompatible with sync
E-73AppendixDimensionsUnits: inches (mm)Side ViewFront ViewBottom ViewTop ViewSide ViewRear View113/25 (282.5)29/16 (65)9/32 (7)437/64 (116.5)31/6 (79
E-74AppendixSpecificationsProduct typeModelVideo systemDisplay methodLCD panelStandard LensProjection lampVideo input signalS-video input signalCompon
E-75AppendixGlossaryAspect ratioWidth and height ratio of an image. The normal aspect ratio of a computer and video image is 4:3. There are also wide
E-76AppendixIndexAAC socket...16Adjusting the Picture ...
E-5ImportantInformationIMPORTANT SAFEGUARDSCaution Concerning the LampReplacementSee “Replacing the Lamp” on pages 62 and 63.Cautions Concerning the S
SHARP CORPORATIONXG-P25X/CD (E)-h 02.3.19, 7:15 PM77
E-6ImportantInformationIMPORTANT SAFEGUARDSTemperature Monitor FunctionIf the projector starts to overheat due to setup problemsor a dirty air filter,
Další dokumenty pro Projektory Sharp XG-P25X

Související produkty a manuály pro Projektory Sharp XG-P25X
 (86 stránky)
(59 stránky)
(71 stránky)
(2 stránky)
(72 stránky)
(2 stránky)
(83 stránky)
(86 stránky)
(59 stránky)
(71 stránky)
(2 stránky)
(72 stránky)
(2 stránky)
(83 stránky)


 (106 stránky)
(69 stránky)
(55 stránky)
(61 stránky)
(110 stránky)
(72 stránky)
(105 stránky)
(106 stránky)
(69 stránky)
(55 stránky)
(61 stránky)
(110 stránky)
(72 stránky)
(105 stránky)
© 2020, manymanuals.cz. Všechna práva vyhrazena. | 0.020 s |
 Manymanuals.com
 Manymanuals.de
 Manymanuals.fr
 Manymanuals.it
 Manymanuals.pl
 Manymanuals.cz
 Manymanuals.es
 Manymanuals-pt.com
Komentáře k této Příručce