Sharp DV-720H Uživatelský manuál
Procházejte online nebo si stáhněte Uživatelský manuál pro DVD přehrávače Sharp DV-720H. Sharp DV-720H User manual [en] Uživatelská příručka
- Strana / 8
- Tabulka s obsahem
- KNIHY
Shrnutí obsahu
DVD authoring software makes it easy to create and design template-based DVD menus. But many of those templates have limitations and drawbacks that ma
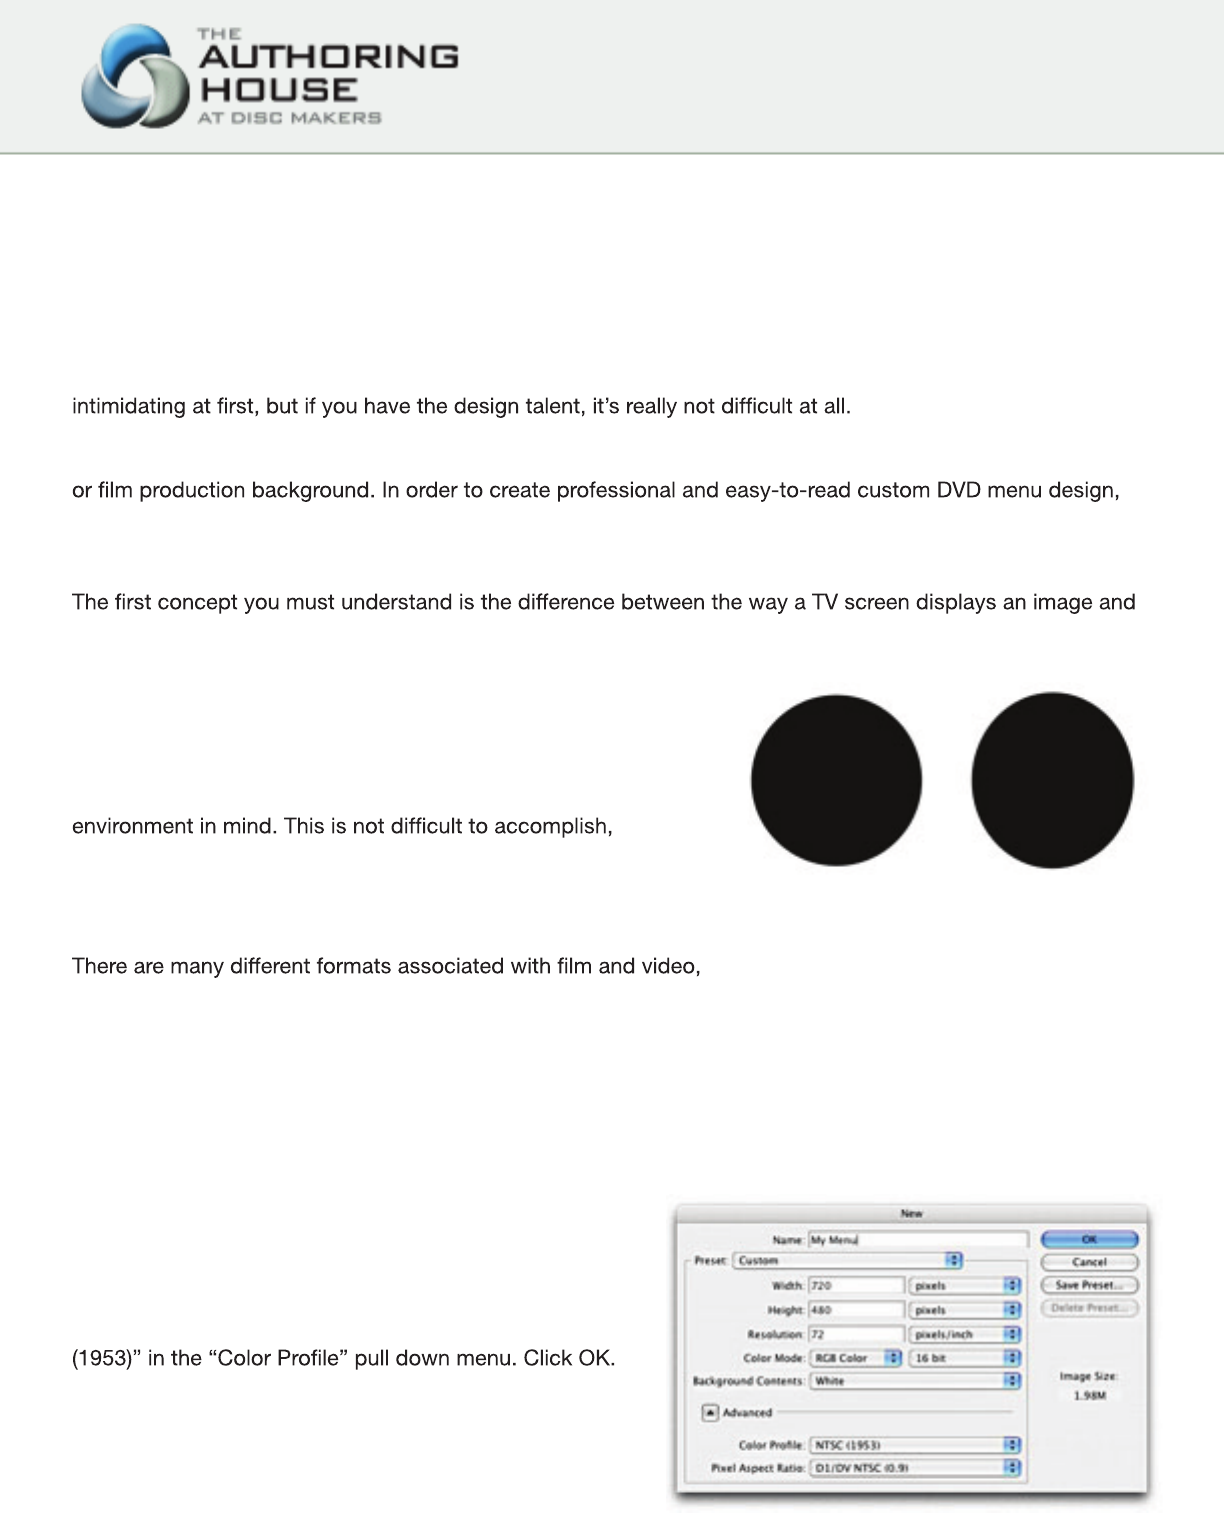
Remember, you are designing with square pixels. Photoshop is compensating for this and has automatically adjusted your design. If you turn the preview
Broadcast Safe ColorsTelevisions have a limited range of colors that can correctly be displayed on a picture tube. This color range is referred to as
On professional DVDs, designers often use something as simple as a small square to indicate button states. A square does not have any diagonal lines s
In Part I, we discussed some of the basics for designing DVD menus. In Part II, we’ll expand on these basics and by discussing some of the rules and t
When testing your menu, there are several factors that will effect how your menu will appear. The type of cable used to connect to the monitor or TV c
Figure 1C – Interlaced.Figure 1A – Odd. Figure 1B – Even. Designing a menuNow that you better understand how images display on a TV, let’s present
Luminance (brightness)As with color, white levels that are too bright can cause issues. Again, adjusting to NTSC safe levels is a good start, but you
Související produkty a manuály pro DVD přehrávače Sharp DV-720H
 (109 stránky)
 (22 stránky)
(24 stránky)
(58 stránky)
(52 stránky)
(108 stránky)
(94 stránky)
(22 stránky)
(24 stránky)
(58 stránky)
(52 stránky)
(108 stránky)
(94 stránky)
 (79 stránky) (104 stránky)
(32 stránky)
(20 stránky)
(53 stránky)
(72 stránky)
(79 stránky) (104 stránky)
(32 stránky)
(20 stránky)
(53 stránky)
(72 stránky)
 (40 stránky)
(112 stránky)
(24 stránky)
(30 stránky)
(40 stránky)
(112 stránky)
(24 stránky)
(30 stránky)
© 2020, manymanuals.cz. Všechna práva vyhrazena. | 0.079 s |
 Manymanuals.com
 Manymanuals.de
 Manymanuals.fr
 Manymanuals.it
 Manymanuals.pl
 Manymanuals.cz
 Manymanuals.es
 Manymanuals-pt.com
Komentáře k této Příručce